Hello everybody, it is Jim, welcome to our recipe site. Today, I’m gonna show you how to prepare a special dish, yukimi daifuku (mochi dumplings filled with ice cream). It is one of my favorites. For mine, I’m gonna make it a little bit unique. This is gonna smell and look delicious.
Yukimi Daifuku (Mochi Dumplings Filled with Ice Cream) is one of the most popular of current trending foods on earth. It’s appreciated by millions every day. It’s simple, it’s fast, it tastes delicious. Yukimi Daifuku (Mochi Dumplings Filled with Ice Cream) is something which I have loved my entire life. They are fine and they look wonderful.
How to Prepare Yukimi Daifuku (Mochi Dumplings Filled with Ice Cream)
To get started with this recipe, we have to prepare a few ingredients. You can have yukimi daifuku (mochi dumplings filled with ice cream) using 5 ingredients and 15 steps. Here is how you cook it.
Ingredients
The ingredients needed to make Yukimi Daifuku (Mochi Dumplings Filled with Ice Cream):
- Get 50 grams Shiratamako
- Take 100 grams Castor sugar (superfine or baker's sugar)
- Take 100 ml Water
- Take 150 grams to 200 grams Ice cream
- Prepare 1 Cornstarch (to form the dumplings)
Instructions
Steps to make Yukimi Daifuku (Mochi Dumplings Filled with Ice Cream):
- Put plenty of cornstarch on a large cutting board.
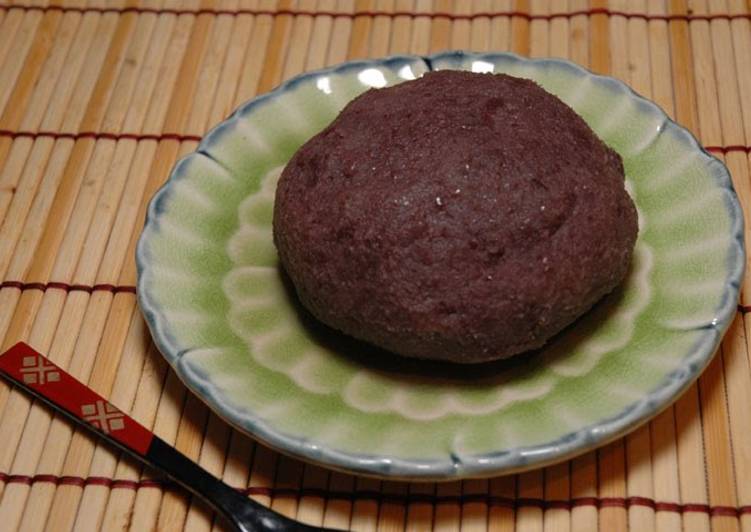
- Put the shiratama flour in a heatproof container, and add water slowly. When the flour and water have been thoroughly combined, add the sugar and stir it in.
- Cover loosely with plastic wrap and microwave (at 600W) for 2 minutes. Take it out and mix with a wooden spatula. Microwave for another minute and mix again.
- When the dough becomes shiny like this, it's good.
- Moisten a wooden spatula, and drop the dough on top of the cornstarch bed made in step 1. Flatten it as much as possible.
- Dust the top of the dough with cornstarch, and flip over. Lift up the edges with your hands. It will stretch out a lot, so don't lift it too high, and spread out the dough. It's very hot at first, so be careful.
- Repeat step 6, and neaten the dough with your fingers as you spread it to 2 to 3 mm thick.
- When the dough has cooled down completely, cut it out using a small soup bowl or the equivalent.
- Remove the surrounding dough. If you are going to freeze the dough at this point, go to step 10. If you're going to make the dumplings right away, go to step 11.
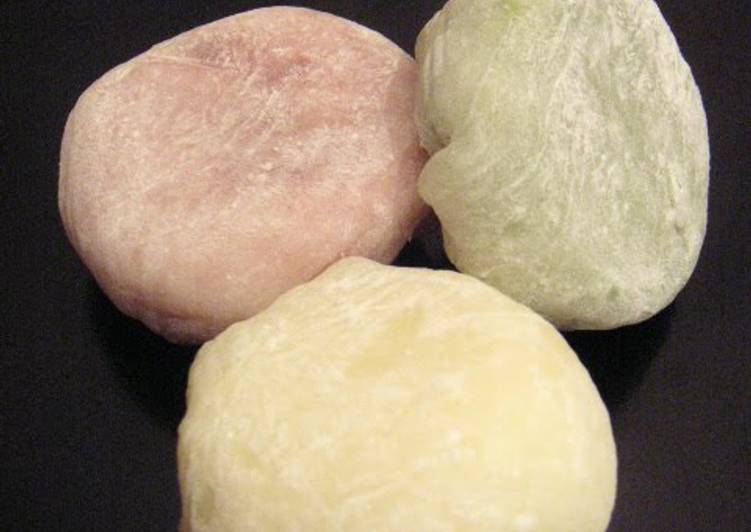
- To freeze the dough, put a piece of plastic wrap between each piece of dough, wrap tightly and freeze.
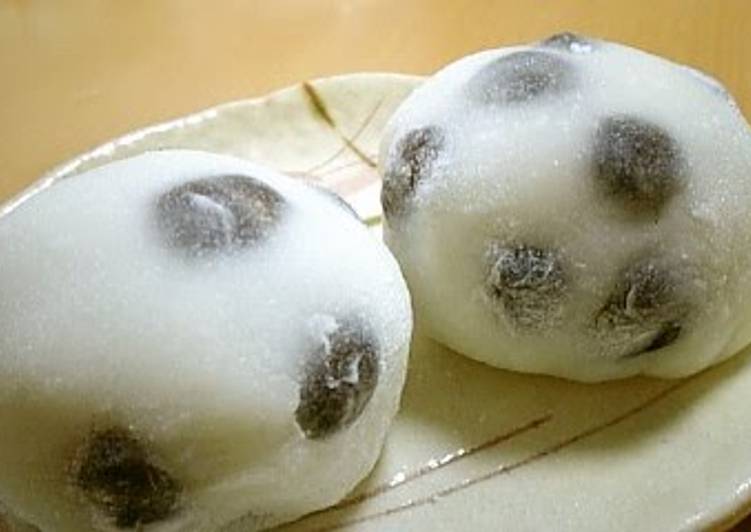
- To wrap: Put a ball of ice cream in the middle of a piece of dough. To make a neatly shaped dumpling, use a portion of ice cream that's as rounded as possible.
- Pull up the edges to the opposite sides and pinch together securely. Freeze the dumplings as soon as they're wrapped, and take them out when serving.
- They look like this when they're cut.
- I tried using a mini-yukimi daifuku case. I cut out the dough for these with a 8cm diameter cup.
- A big success! They came out so evenly! If you have a Yukimi daifuku case (to mold the ice cream), the dumplings will turn out very nicely.
As simple as that Simple Way to Make Yukimi Daifuku (Mochi Dumplings Filled with Ice Cream)
So that’s going to wrap this up with this exceptional food yukimi daifuku (mochi dumplings filled with ice cream) recipe. Thanks so much for reading. I am sure you will make this at home. There’s gonna be interesting food at home recipes coming up. Don’t forget to save this page on your browser, and share it to your loved ones, friends and colleague. Thank you for reading. Go on get cooking!
Print this page